The Gold-Masked One Boss Guide
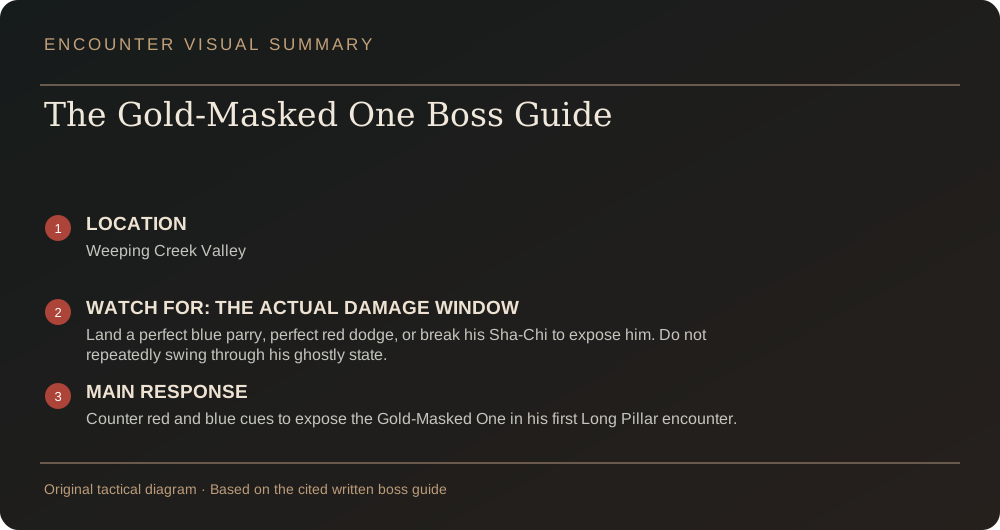
Counter red and blue cues to expose the Gold-Masked One in his first Long Pillar encounter.
Fight location, phases and rewards
Where and when to fight the Gold-Masked One
Fight the Gold-Masked One at a Long Pillar in Weeping Creek Valley during one of his earliest optional appearances. This first encounter is optional, and later appearances are separate fights.
Counter red and blue cues to expose the Gold-Masked One in his first Long Pillar encounter.
- Region
- Weeping Creek Valley
- Arena / entry
- Interact with a Long Pillar to enter his first optional appearance; later appearances are separate fights
- Documented stages
- This guide is limited to the first Long Pillar encounter, which has one phase. He is normally intangible; red-dodge, blue-parry or Sha-Chi breaks create actual damage windows.
This guide is limited to the first Long Pillar encounter, which has one phase. He is normally intangible; red-dodge, blue-parry or Sha-Chi breaks create actual damage windows.
Before you enter: preparation and punish timing
Preparation: Do not rely on ordinary attacks during his ghostly invulnerability; prepare to counter blue, red and sudden grab cues.
Safe punish window: A perfect blue parry, perfect red dodge or Sha-Chi break exposes the actual damage window. Commit after that cue, not before.
Attack patterns and exact responses
| Attack cue | Response |
|---|---|
| The actual damage window | Land a perfect blue parry, perfect red dodge, or break his Sha-Chi to expose him. Do not repeatedly swing through his ghostly state. |
| Projectile sequence | The single projectile can lead to a rapid volley and a final blue counter. Preserve attention for the finisher rather than rushing the opening shot. |
| Aerial slash | A jumping overhead is followed by a red dodge opportunity; prepare to respond to the follow-up rather than immediately punish the jump. |
| Sudden grab | Red-marked grabs may interrupt a slower sequence with little warning. Prioritize the cue over maintaining your combo. |
| Flurry pressure | Parry individual hits when possible; passive guarding through the entire string drains Sha-Chi and can trigger a break. |
Phase order: what to do in sequence
- Entry: Use the Long Pillar to start the first optional appearance in Weeping Creek Valley.
- Opening: Treat the encounter as a counter-led fight rather than a conventional damage race.
- Punish: Commit after the exposure state appears, then withdraw before the next exchange begins.
- Finish: Repeat the counter, punish and reset cycle until this first encounter ends.
Sources and encounter scope
Boss-specific combat observations are summarized from the linked Mobalytics encounter guide. Regional bell and collectible references are listed separately.
- Mobalytics: The Gold-Masked One combat guide
- Mobalytics: Weeping Creek Valley collectibles and bell locations
For equipment planning, compare the weapon acquisition table and build roles. The boss index lists the other encounter guides.
The Gold-Masked One boss fight video
Choose either independently uploaded battle recording. The first option jumps to the fight in the original compilation; the second starts a dedicated boss video. Players load only after you click Play.
Option 1 · Full boss compilation
Jump to 3:03:27 of an independently recorded full-boss compilation. Compare attack tells, recovery frames and phase transitions with the table above. The original recording is in Japanese; gameplay itself is viewable without translation.
Watch at 3:03:27 on YouTubeFootage: ピコピコちゃん / ゲームまとめ (published November 1, 2026). Spoilers: the full video also contains later bosses and endings.
Option 2 · GRILLAZ dedicated boss video
Focused combat tutorial for the Gold-Masked One. Uploaded separately by GRILLAZ; combat language or narration varies by creator.
Watch on YouTubeCreator: GRILLAZ. Video identity, title and uploader checked using YouTube's metadata endpoint on November 7, 2026. If embedded playback is unavailable, open on YouTube.